In the competitive world of short-term rentals, automation can give you a significant edge. It streamlines operations, enhances guest experiences, and reduces labor costs. If you’re ready to take the plunge into automation but aren’t sure where to start, this guide will walk you through the essential steps to create a fully automated rental property.
1. Get a Smart Hub
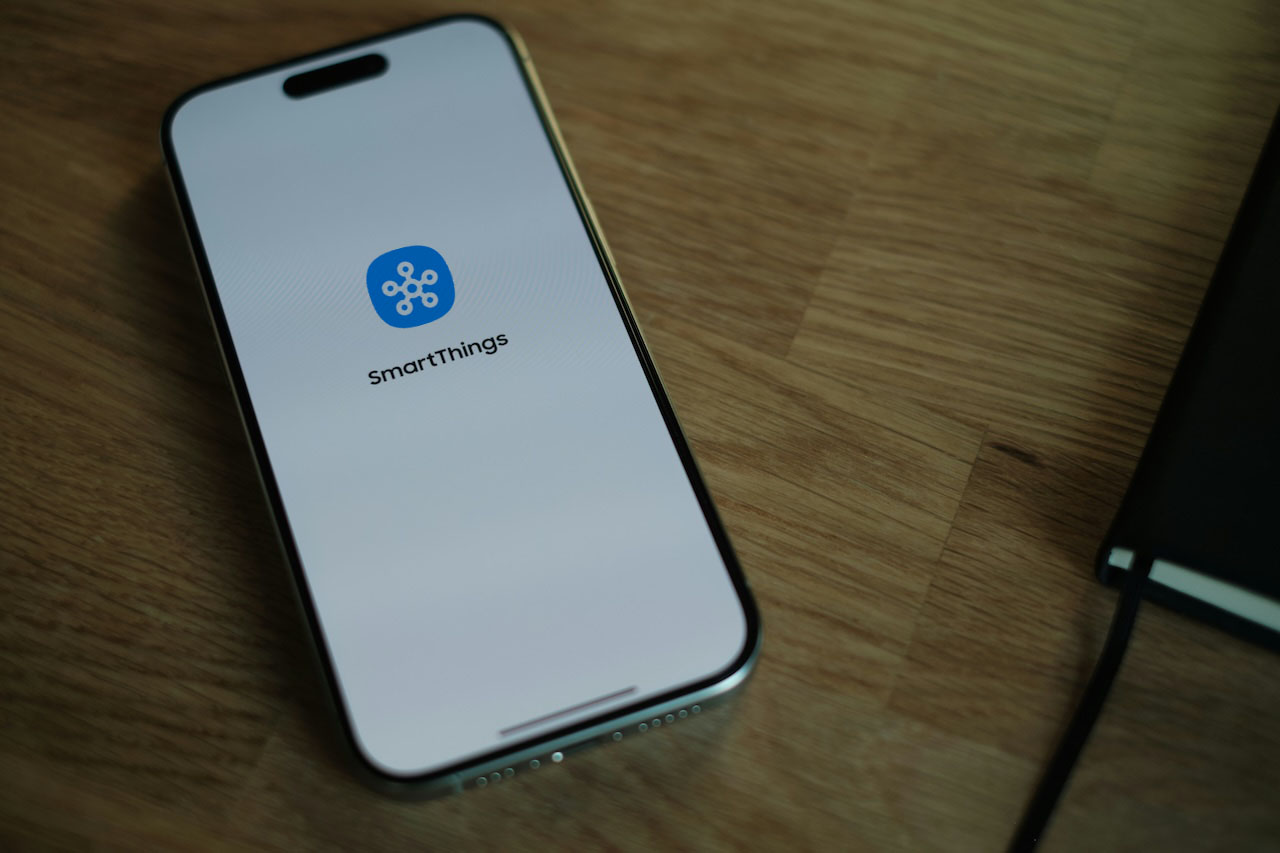
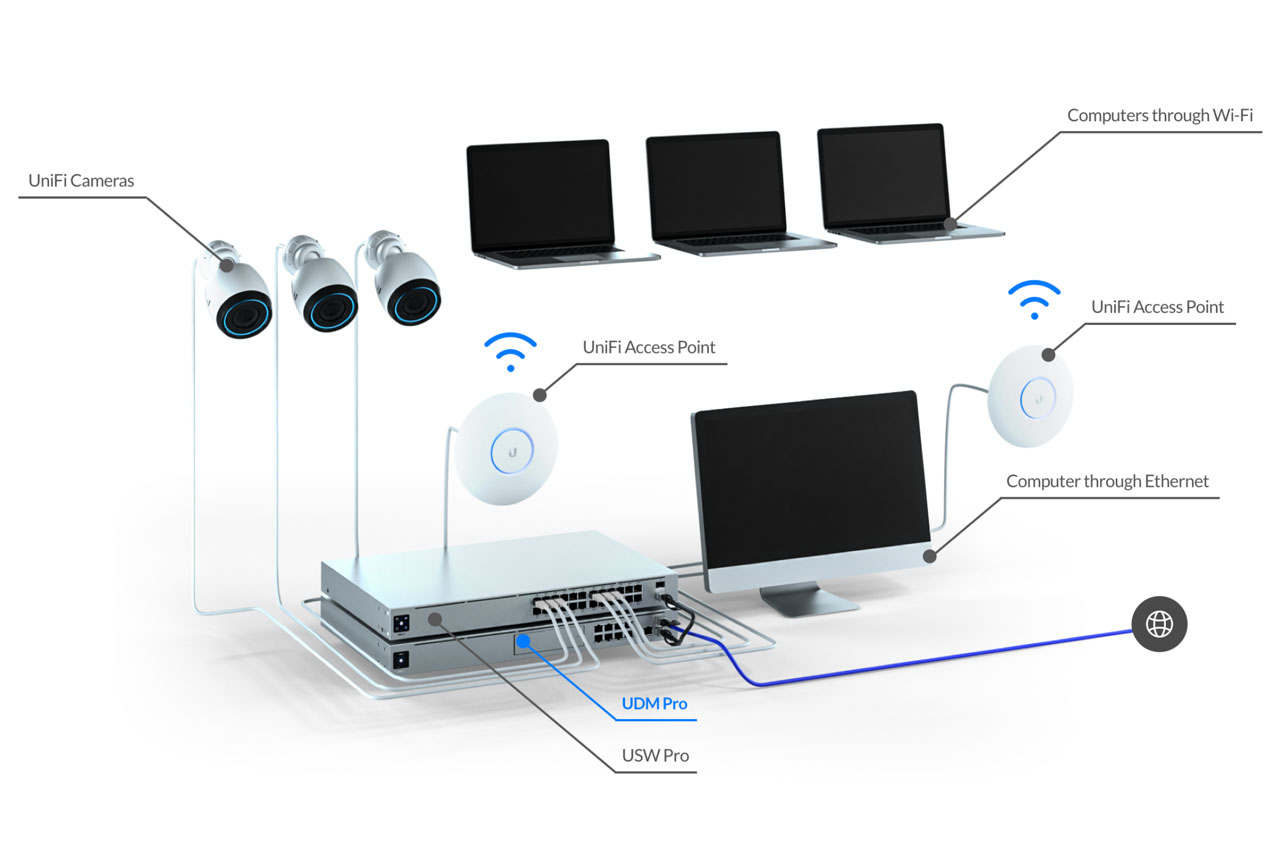
The first step to automating your short-term rental is investing in a smart home hub. A smart hub acts as a central point of control for all your automated devices, allowing them to communicate seamlessly. You can build a smart home without a hub, but we highly recommend having one for consistency and to keep your costs lower.
Look for a hub that supports a wide range of devices and is compatible with various automation protocols like Z-Wave, Zigbee, or Matter (for a host of reasons we don’t recommend WiFi). Popular choices include Samsung SmartThings, Hubitat, or Home Assistant smart hubs.
Once you receive your hub, you can visit our knowledgebase to see the exact steps for setting up your hub.
2. Decide What Devices You Want to Automate
Once you have your hub, the next step is to determine which devices in your property you want to automate. Generally we recommend figuring out ways to connect things that can’t easily be changed by the guests (i.e. don’t use plug-in outlets unless they are in an area that is inaccessible to guests). This helps ensure things will always work as you expect.
Here’s a list of suggested devices to consider:
- Smart Locks: For keyless entry and enhanced security with your property (you can give individual codes to each guest and your cleaning/maintenance so you always know who has access to the property at all times).
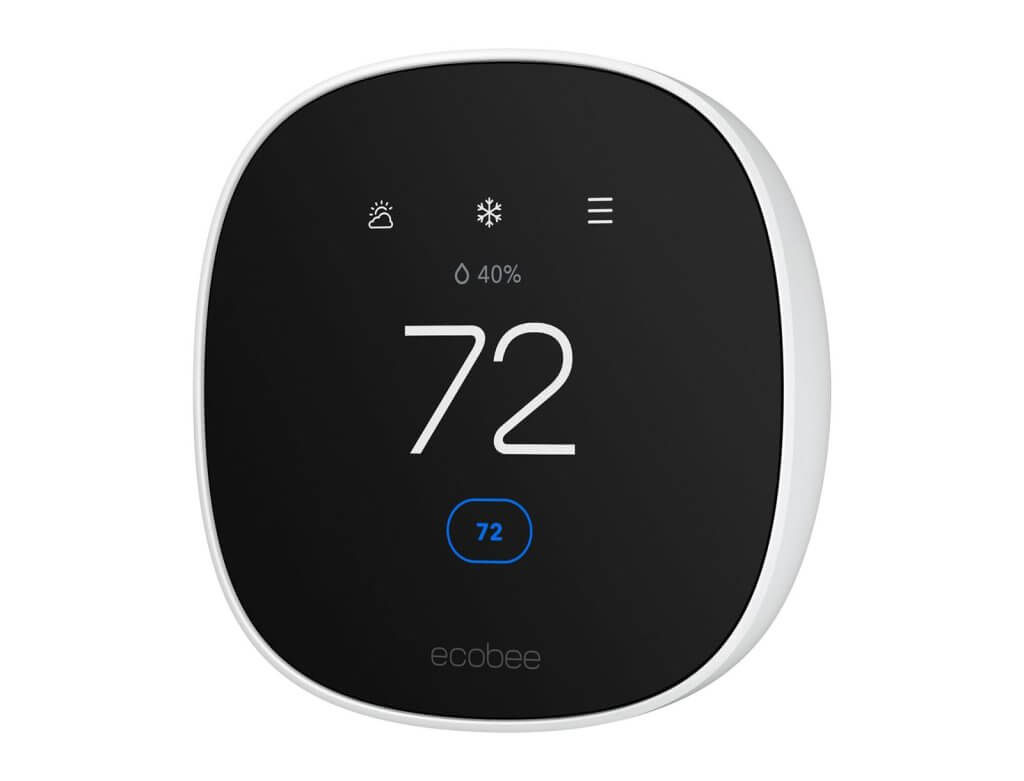
- Smart Thermostats: Guests typically don’t care how much energy they use when they’re on vacation, so having the ability to put temperature limits – as well as automatically adjust the thermostat when the home is vacant – is an important feature.
- Smart Switches: Just like Motel 6 used to say “We’ll leave the light on for you,” it’s always nice for guests to arrive at a home that has some lights on and feels welcoming. You can use switches to control lights as well as other devices around your property.
- Smart Water Valves: The number one risk a short term property owner has is potential water damage. It is fairly simple to set up water valves and switches to make sure the water is off at the property when nobody is around and using it. Read our article on Automating Your Water Shut-off to learn more.
Our advice is to start simple with the locks, thermostats & water valve – these are the basics that you should really be thinking about. Then you can slowly expand and add more devices and complexity as you go.
3. Make Sure Your Devices Are Installed Properly
Proper installation of your devices is crucial for optimal performance. Follow the instructions carefully for each device to ensure correct installation, and consult our knowledgebase for tips and tricks that we’ve learned from doing this many times. Proper installation will prevent headaches down the line and ensure a seamless guest experience.
If you encounter any difficulties, don’t hesitate to reach out to us for troubleshooting and assistance, we’re happy to help if we can.
4. Connect Your Devices to Your Hub
After installing your devices, the next step is to connect them to your hub. Each device will typically come with a user manual that provides step-by-step instructions for connecting it to your smart home hub. Generally, this process involves opening the hub’s app, adding a device, and following the setup instructions to pair the device with your hub. Take your time to ensure that each device is properly linked for smooth operation.
Visit our knowledgebase for step-by-step instructions to help you get this done quickly and easily for our recommended devices.
5. Test Your Setup
Before officially launching your automated features, it’s essential to test your entire system. Make sure that each device is functioning as intended and that they communicate effectively with your hub. Check for any connectivity issues or delays in device responses. Testing different scenarios—such as locking the door remotely or adjusting the thermostat—will help you identify any potential challenges. This step is crucial to ensure that your guests will have a smooth experience from day one.
6. Connect Your System to the Rental Home Automator
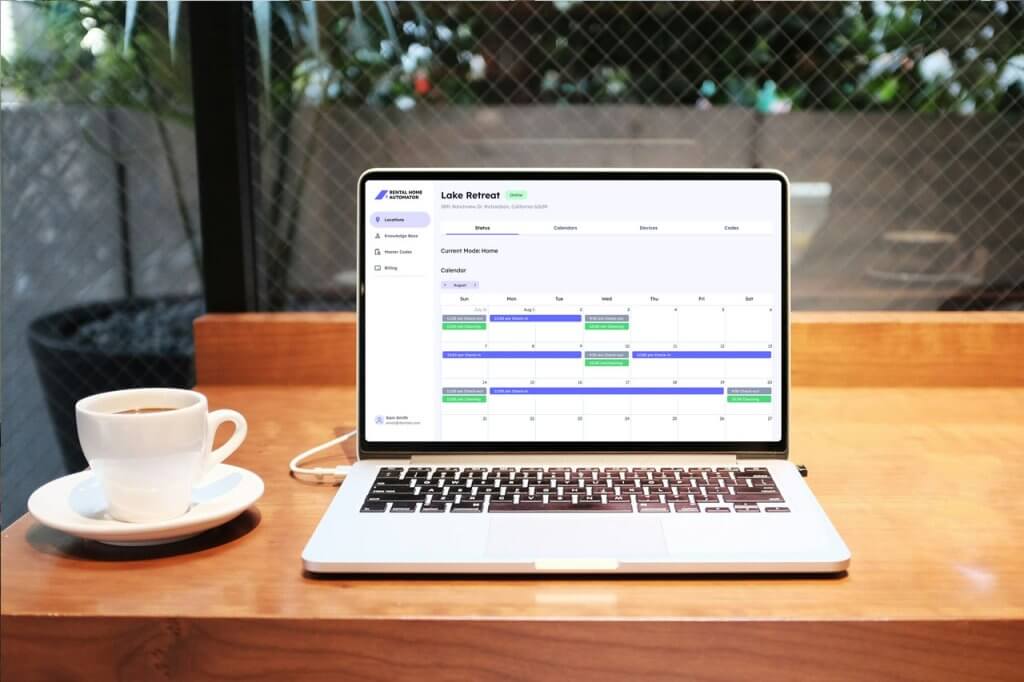
The final step in your short term rental automation journey is to connect your system to Rental Home Automator. Our system integrates all your automated devices into one cohesive system, allowing you to automate and monitor everything from a single dashboard. This connection enables you to set automated rules for different scenarios, such as automatically adjusting the thermostat so guests check in to a warm or cool home, ensuring the well or water is off when guests aren’t there, and receiving alerts if devices go offline.
Rental Home Automator, and our step-by-step guides, are the best way to automate your system so your home is ready for guests, cleaning, maintenance, and safe when no one is home. Connect your system to our app, configure a few settings, and we’ll take care of the rest!
Starting your automation journey doesn’t have to be overwhelming. By following these essential steps, you can effectively introduce smart technology into your short-term rental, enhancing both operational efficiency and guest satisfaction. Remember, the key to successful automation is choosing the right devices, ensuring proper installation, and using an automation platform like Rental Home Automator.
As you get your smart home built, you’ll find that automating it not only streamlines your operations but also creates memorable experiences for your guests, leading to repeat bookings and glowing reviews.

